A pizza stone is a great tool that can be used to bake a pizza to perfection. They can be purchased for less than $50 at most retail stores and online. It is not hard to use a stone, however, if you make a mistake, you could end up with a pizza crust that is burnt or too doughy.
The main purpose of a pizza stone is to create a crust that is crisp on the outside and chewy on the inside. The stone works by quickly adding heat to the crust to make it rise while, at the same time, sucking moisture out of it so it gets crispy. You end up with the most delicious pizza you’ve ever tasted. If you enjoy making pizza from raw dough, learning how to cook with a pizza stone is a must.
Our Favorite Pizza Stone
CucinaPro Pizza Stone
 We absolutely love the CucinaPro Pizza Stone. This is one of the thickest pizza stones on the market at 5/8-inches thick. The thickness allows this stone to hold onto a lot of heat so you can cook multiple pizzas – one after the other. It is 16-inches wide which is the perfect size for a pizza. The CucinaPro Pizza Stone can be used either on the grill or in your oven which makes it super versatile. We hope you’ll love this pizza stone just as much as we do.
What You’ll Need to Make the Perfect Pizza:
- A Pizza Stone
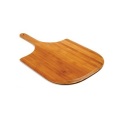
- A Pizza Peel
- A Pizza Cutter
- A Cutting Board
- Pizza Dough
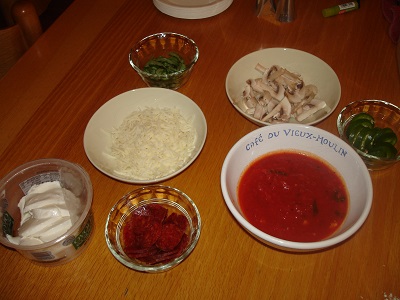
- Pizza Toppings
- Cornmeal
How to Bake on a Pizza Stone in 6 Easy Steps
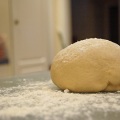
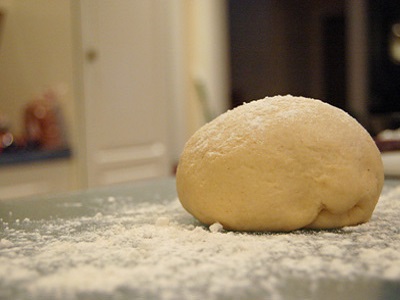
1. Mix up your pizza dough and set it aside. You will need to wait until the dough has doubled in size. While you are waiting on the dough to proof, you can organize your pizza toppings and get them ready to use. Here are some tips for selecting the right dough for a pizza stone:
- Pizza stones work best for raw dough. Pre-baked dough and already cooked flat-breads and tortillas do not work well on a stone.
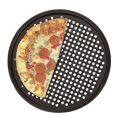
- Frozen pizzas often do not work on a pizza stone. It could be done if you place tinfoil on the stone and then put the frozen pizza on that. It is better to just use a metal pizza pan for frozen pizza.
- Allow the stone to cool before moving it around. You may take it out of the oven when it is hot but try not to move it around too much.
- After the stone has cooled, scrape off any toppings and wipe clean with a damp cloth. Never soak the stone in water and don’t ever use soap on the stone. The stone will absorb water which will affect the taste of the pizza.
- Never ever bake cookies, cake or fatty items on your stone. The fat and oil will get into the stone and cause it to smoke or smell funny.
- Your stone will discolor and stain over time but this is normal and will not affect the taste of the pizza or the effectiveness of the stone.
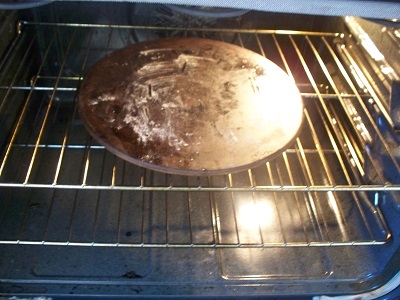
2. Set your oven to 400 degrees Fahrenheit and place your stone inside. You will want your stone to pre-heat for at least 10 minutes. Do not set your oven to more than 430 degrees or less than 350 degrees. If you set it for over 400 degrees, the stone will get too hot and your pizza will burn. If you set it for less than 350 degrees, then your pizza will dry out before it ever gets hot. However, these temperatures are not set in stone (pun intended). Your recipe may call for a different temperature so it is a good idea to experiment. If you like a really crispy crust, you may want to set the temperature higher. Go lower for a chewy crust.
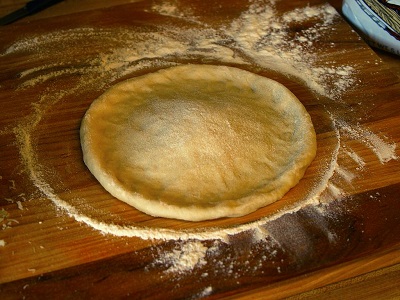
3. While the stone is pre-heating, roll out your dough. Start by sprinkling some cornmeal on your pizza peel and then roll the dough onto the peel. This way, you can easily transfer it onto your stone without having to up lift the pizza which may cause you to tear the crust. Make sure the pizza peel is not cold to the touch before rolling the dough on it. If you are making a really thick pizza crust, you should take the stone out of the oven while hot and roll the crust out directly on the stone. The ideal thickness for a pizza crust is 1 centimeter. Any thicker and the pizza will be too bready but any thinner, the toppings may fall off.
4. Add sauce toppings to the pizza. Always leave at least a half an inch all the way around the edge of the pizza so you have something to hold onto when eating a slice. When adding the cheese, make sure to use slices and not shredded cheese. Slices are easier to work with and won’t make a big mess. When adding meat, don’t add too much or it could add moisture into the crust causing it to never completely cook. Doughy tasting pizza is never good.
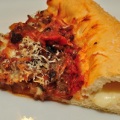
5. Transfer the pizza onto the pizza stone in the oven. Transferring the pizza to the stone using the peel will take some practice but you’ll be an expert in no time. There are different ways of doing it. Some people prefer to push the pizza off the peel with their fingers while others tend to shake the pizza off. If you end up ripping the pizza or messing it up, you can always fold the pizza in half to end up with a calzone or pizza pocket. If you do this, make sure to press the edge of the dough together to prevent toppings from falling out.
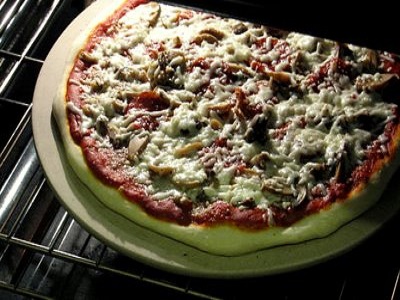
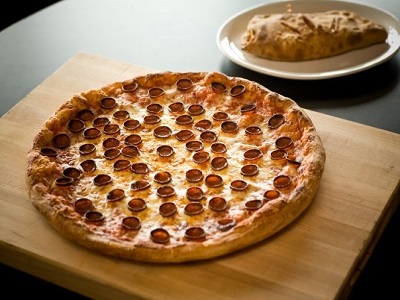
6. Cook for 10-15 minutes or until crust is brown and crispy. Use the pizza peel to remove the pizza from the oven and put the pizza on a cutting board. You may also take the entire stone out of the oven and transfer it to a heat-resistant surface. The stone will keep the pizza warm for a while which is a good feature if you are waiting for guests to arrive. Never cut the pizza on the stone as the knife could mar the stone or the stone could ruin the knife. Always transfer the pizza to a cutting board before cutting it into slices and serving.